
Do you want to launch into building an e-learning site but do not know where to begin? Do not panic — this tutorial aims to guide you step by step in building your online course site.
The 5 Best LMS WordPress Plugins for Creating an E-Learning Site
Let us start from the beginning and look together at the best LMS plugins for creating your online training site! After installing one of these plugins, you can easily and quickly create courses, whether free or paid. Here is a list — not exhaustive — of the best plugins:
- LearnDash
- LearnPress
- Lifter LMS
- Sensei LMS
- WP Courseware
LearnDash, the Best-Known LMS Plugin
LearnDash is one of the best plugins for creating your WordPress site as an e-learning site. It is a giant that dominates the market and hosts most of the major training sites. For me it is the most comprehensive and relatively affordable, with prices starting from $199 up to a maximum of $329/year. By way of comparison, LifterLMS goes up to $1,200 per year, and for the smallest plan at $120, you will not have access to much unless you add several hundred dollars each time ($4,480 maximum). Regardless, I have chosen to go into depth and explain to you how to create your e-learning site with LearnDash. To summarise LearnDash:
- Courses
- Course outlines
- Quizzes
- Assignments
- Course progress
- Certificate upon completion
- And more.
LearnDash is perfectly compatible with the Astra themes, , , and the Elementor plugin.
Create an E-Learning Site With LearnDash
Shall we get started? To begin, you will need to create an account on their site and proceed to checkout. Once your annual subscription is paid, LearnDash will send you the latest version of their extensions.
You will then need to go to your WordPress admin area and then go to Plugins → Add → Upload a Plugin.
After activating the plugin, you will need to enter your licence: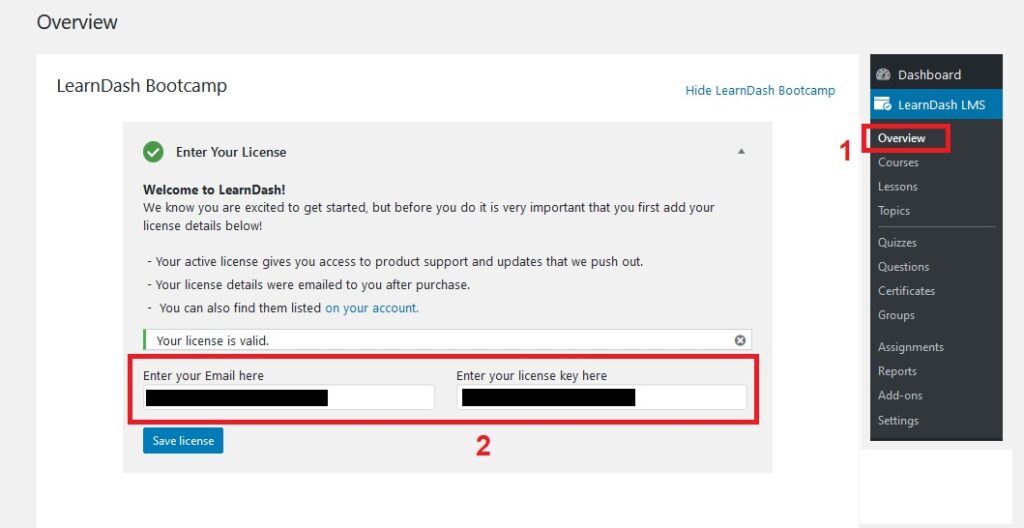
Once your licence is activated, I invite you to explore LearnDash’s settings yourself. You can modify its visual appearance and background as you wish, or configure receiving your payments via PayPal (WooCommerce is also possible with the WooCommerce for LearnDash extension). Nothing too complicated!
Create Your First Course With LearnDash
Head to LearnDash LMS → Courses, then click the button at the top right to create a new course:

You will then land on a very typical WordPress page creation interface, with content to add and on the right you can select your course category.
Do not hesitate to browse the options:
Then simply publish. If you use a builder, the theme or plugin will offer to edit your page as usual. Here is an example with Divi: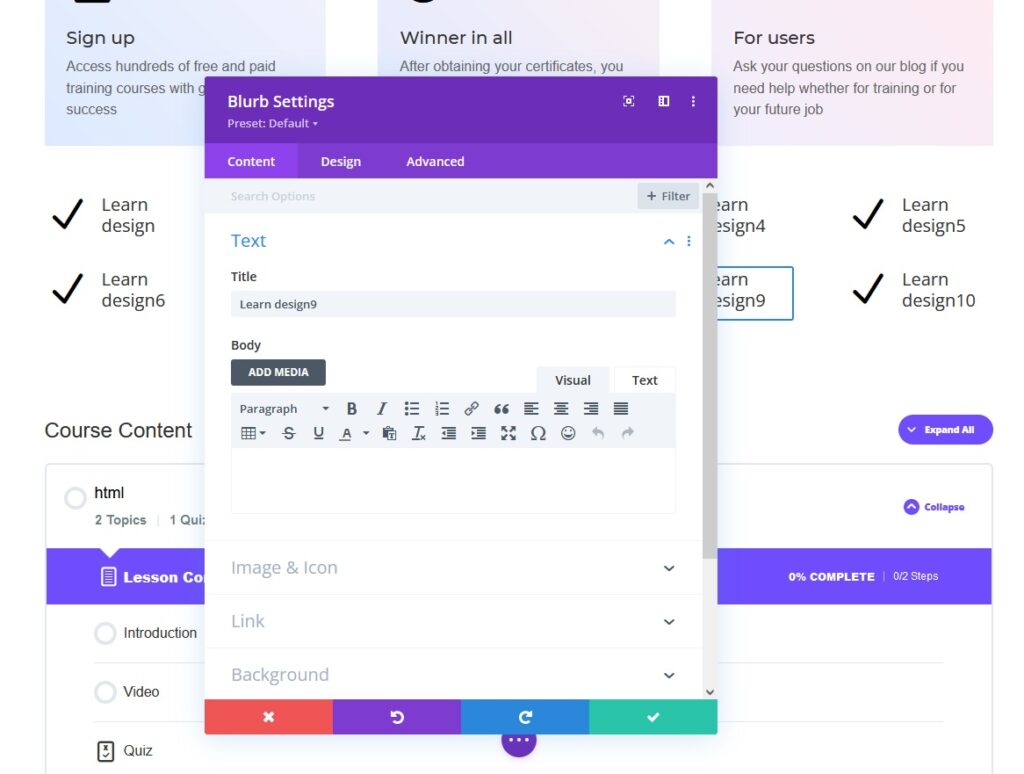
By the way, if you want to save time and have a pre-made e-learning site with LearnDash and Divi, we have created a layout that you can find on the Divi marketplace by .
To add private access to your courses or to create a paid course, you need to go to the settings of your specific course, then indicate the price:

Create Your First Lessons
You would probably like to group all your courses with lessons. To do this, go to LearnDash LMS → Lessons then click add (at the top right). Once you have created your lesson, still in the page editing view, go to the settings at the top then click the setting that allows you to associate your lesson with one or more of your courses:
And there you have it! You have created a course and then assigned a lesson. LearnDash will automatically manage the visual you saw previously at the bottom when we were on the Divi builder.
As for the rest — quizzes, questions, certificates — it will be very similar, do not worry, you will get there! If you need help, do not hesitate to contact us for the creation of your site!