
A sitemap.xml tells search engines which pages exist on a site — more specifically, the pages of a site that you wish to show to Google. It is also possible to create image sitemaps to better position your images on Google Images.
What Is a Sitemap?
A sitemap, or “site map”, is an XML file listing all the pages of your website that you want search engines like Google to index. It can also include other information, such as the date each URL was last modified, as well as the images on your site — called image or media sitemaps — or to list your videos.
Creating a sitemap helps improve a site’s SEO from the Technical SEO side, and more specifically the optimisation of crawling and indexation.
Here is what it looks like:
<?xml version="1.0" encoding="UTF-8"?>
<urlset xmlns="http://www.sitemaps.org/schemas/sitemap/0.9">
<url>
<loc>http://www.example.com/foo.html</loc>
<lastmod>2018-06-04</lastmod>
</url>
</urlset>
If your site already has a sitemap, you should be able to see it at yourdomain.com/sitemap.xml and your sitemap index at yourdomain.com/sitemap_index.xml
The Importance of a Sitemap for SEO
Sitemaps are important because they help Google and other search engines discover the pages of your website. If search engines cannot find your pages, they cannot index them. And if they cannot index them, you cannot rank in search results.
If Google can see your site’s pages through your internal linking or external sites that talk about you (backlinks), you will make its job easier — for example by improving your crawl budget.
Overall, this allows you to:
- Discover your pages more quickly.
- Give search engines a more complete view of your website (because some pages may not have backlinks or internal links).
- Indicate to search engines which pages are important to you.
- Allow Google to see your URLs as canonical suggestions.
Note: there is no debate to be had about whether you should do this or not depending on your site’s size. Do it.
Do not forget to submit your sitemap to Google & Bing and to add it to your robots.txt. More details at the end of this article.
How to Create an XML Sitemap?
There are several methods for creating a sitemap — several tools to do it manually, and several plugins or settings depending on your site’s CMS.
Technical Details
- Maximum 50,000 URLs, not exceeding 50 MB
- Must come from the same domain
- UTF-8.
Creating a Sitemap on WordPress
Since WordPress 5.5, WordPress natively generates a sitemap.xml for your site. However, it is far preferable to install an SEO plugin like Yoast SEO to generate a more powerful sitemap.
Here is the procedure for creating a sitemap with Yoast:
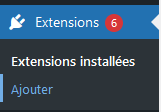
Go to Plugins > Add New:
Search for “Yoast SEO”.
Then click “Install Now”, then “Activate”.

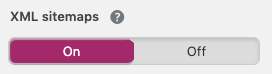
Then go to the Yoast settings under SEO > General > Features. Check that “XML Sitemaps” is enabled.
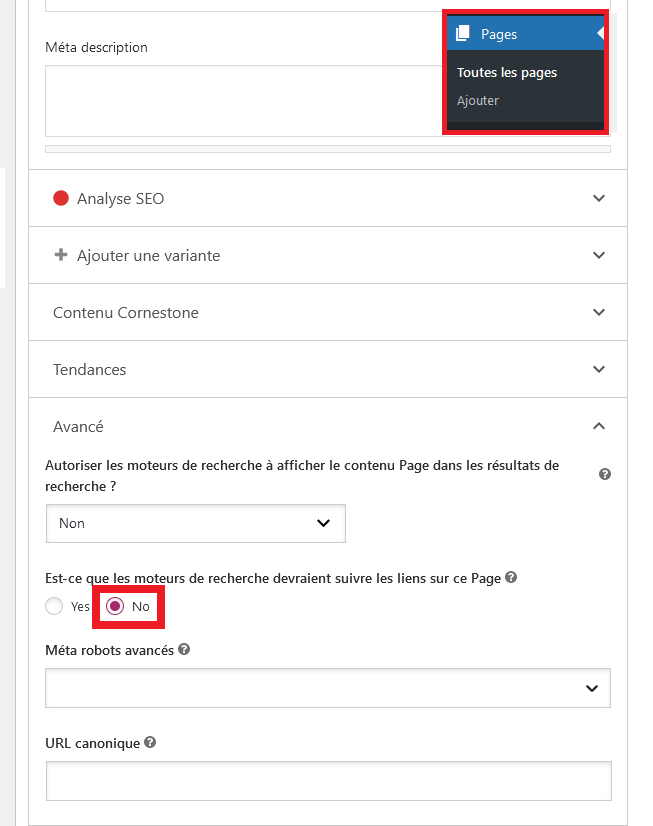
Note: if you want to exclude pages for various reasons — whether because they are not relevant or to sculpt your PageRank — select a page on your site, go to “Advanced” and click “No-follow links”.
If you need more information about sitemaps with Yoast, consult their dedicated articles: https://yoast.com/help/how-to-customize-the-sitemap-index/
Creating a Sitemap on Shopify (Yoast SEO)
If your site was created using the Shopify CMS, you will not need to manage your XML sitemap. Indeed, Shopify’s system takes care of creating, managing and updating the XML sitemap.
If you want to exclude a page from the sitemap, it is now possible to install the Yoast SEO plugin for Shopify.
Once done, go to the dedicated page then navigate to SEO settings → Click on the “No-follow links” toggle.
Creating a Sitemap on Wix
Wix automatically creates a sitemap for your site including all the pages that are created as you go.
If you want to remove a page from a sitemap on Wix, go to the dedicated page, access the “SEO (Google)” settings tab and click the toggle:
![]()
Creating a Sitemap on Webflow
You can enable the automatically generated sitemap in the project settings. The setting is found under Project Settings → SEO tab → Site Map section. Make sure to save changes and publish your site.
Once you have done that, Webflow will automatically generate the sitemap.xml for this project and update it every time you publish your site.
Note: Not familiar with Webflow? You might be surprised! Read our article on Webflow vs WordPress — the result will astonish you.
Creating a Sitemap on Squarespace
Squarespace also automatically creates a sitemap for you.
There is no way to manually edit your sitemap in Squarespace, although you can exclude pages (noindex) from search engines in the “SEO” tab.
Creating a Sitemap Without a CMS
If you want to create a sitemap.xml for a site that does not use a CMS, it is possible. However, I prefer to warn you that it is better to create an automated solution to constantly update the pages in your sitemap. Indeed, you will need to restart the process each time a new page is created.
That said, here are two methods for creating a sitemap with tools.
Creating a Sitemap Using ScreamingFrog
First, if you think your site has around 300 pages, install the free version of ScreamingFrog. If you know your site has fewer than ten pages and you know the URLs, you can skip this step.
Once installed, go to Mode → Spider.
Paste the URL of your home page into the box labelled “Enter URL”.
Press “Start”.
![]()
Note: Make sure to enter the canonical address of your URL. Otherwise SF will only show a single URL.
Once the crawl is complete, click “Sitemaps”:

Then choose “XML Sitemap” (or “Images Sitemap” if that is what you want to do).
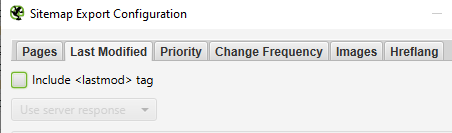
Since this complicates automation and Google does not care much about it, disable “Last Modified”, “Priority” and “Change Frequency”:
Click “Next” and save your sitemap.xml.
Ta-da!!! You have your sitemap!
If you built your site by hand, I think you will be able to put your sitemap in your site’s files at the root of your domain name.
Note: If ScreamingFrog shows 500/500 URLs, do not export your sitemap — upgrade to the paid version.
Automatic Sitemap Generators
There are online sitemap generators. Enter your URL then export your sitemap. This is however far less recommended than using ScreamingFrog, aka the best crawl tool on the market. But if you still want to use an online solution, here is a summary table of pros and cons:
| Generator | Includes canonical URLs? | Includes non-indexed URLs? | Includes redirections? |
|---|---|---|---|
| xml-sitemaps.com | Yes ❌ | No ✅ | No ✅ |
| plan-du-site-web.com | Yes ❌ | No ✅ | No ✅ |
| xmlsitemapgenerator.org | Yes ❌ | No ✅ | No ✅ |
| smallseotools.com/xml-sitemap-generator | Yes ❌ | Yes ❌ | Yes ❌ |
Submitting Your Sitemap Index to Google
Now that you have your sitemap — and since we are on an SEO blog — you will certainly want to show it to Google.
In that case, if you have not already done so, create a Google Search Console account and activate it.
Then go to Google Search Console > Sitemaps > Enter the sitemap URL > Press “Submit”.

If you have multiple sitemaps, add your sitemap_index.xml. If not, you can simply add your sitemap.xml. To be safe for the future, I would recommend using the sitemap_index instead.
Adding Your Sitemap URL to robots.txt
It is also strongly recommended to add your sitemap URL to your robots.txt file.
You can find this file in the root directory of your server. To add your sitemap, open the file and add this line:
Sitemap: https://mysite.com/sitemap_index.xml
If you have not submitted your sitemap_index to Google, then copy this line instead:
Sitemap: https://mysite.com/sitemap.xml
If you have multiple sitemaps, simply add multiple lines.
Sitemap: https://mysite.com/sitemap.xml
Sitemap: https://mysite.com/sitemap.xml
If you use Yoast SEO on WordPress: SEO > General Settings > Features > XML Sitemaps then click “Enabled”.
Submitting Your Sitemap to Bing
In France, on desktop, Bing generates approximately 14% of search engine market share. So do not overlook it.
To start, create an account on Bing Webmaster Tools if you have not already done so.
During the creation process, Bing will offer to link Google Search Console to their tools. I strongly recommend doing this to automate your processes.
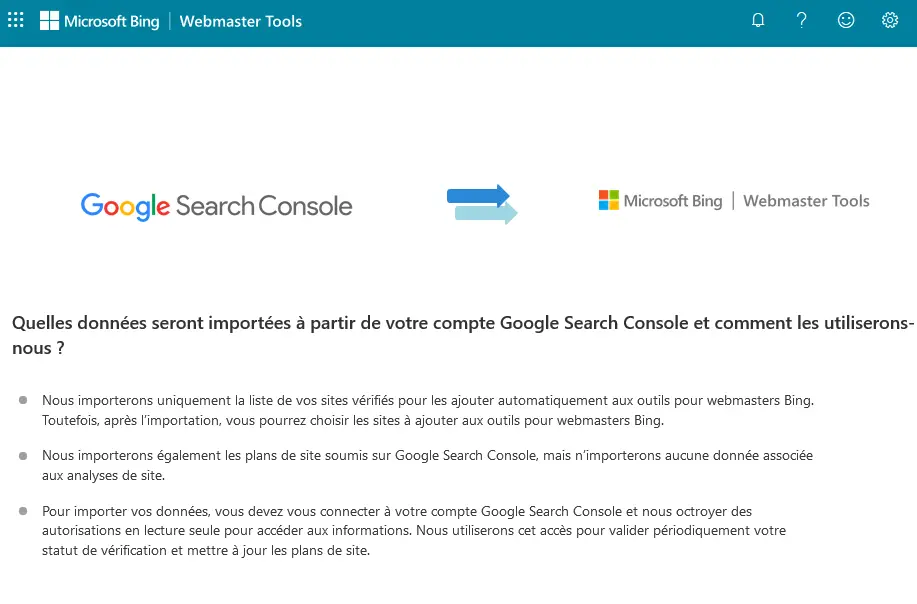
You will then have nothing further to do.
Although it costs nothing to check that Bing has correctly registered the sitemap.
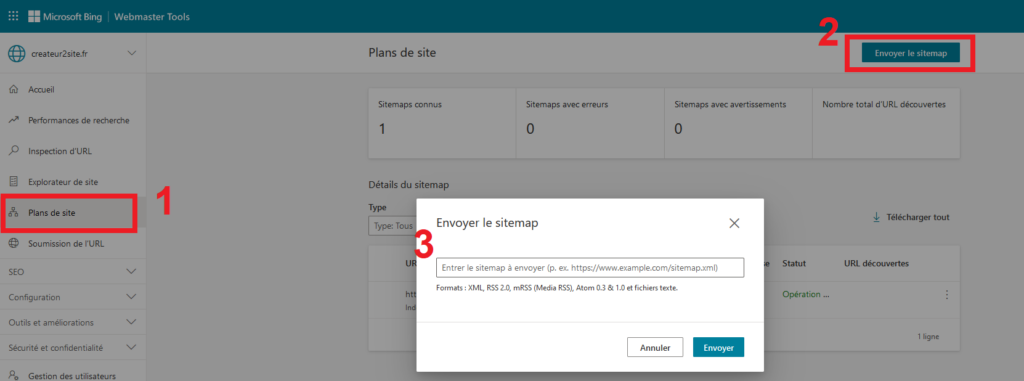
If you do not want to link Bing to Google, or for any other reason, you can submit your sitemap by going to “Sitemaps” → “Submit Sitemap” → “Submit”.
FAQ
How to Find My Sitemap?
If your website has a sitemap, you can generally find it at one of these URLs:
yourdomain.com/sitemap.xml
yourdomain.com/sitemap_index.xml
How to Add My Sitemap to robots.txt?
You can add your sitemap to your robots.txt file by adding this line:
Sitemap: https://www.example.com/sitemap.xml
Where to Put My Sitemap?
Google recommends placing your sitemap in the root directory of your website so that it can affect all pages of the website.